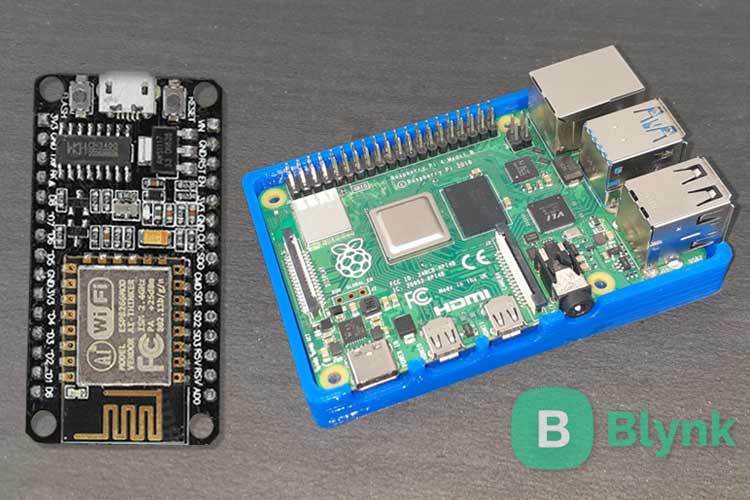
Blynk is an easy-to-use IoT platform using which you can easily build graphic interfaces for all your projects by simply dragging and dropping widgets. But the issue while using the Blynk app is the latency and limited energy. This problem can be solved by using a Blynk local server. Blynk local server provides unlimited energy and reduces latency.
So in the tutorial, we are going to setup a Blynk server locally on Raspberry Pi. We will set it up using a Raspberry Pi 4 and we also create a demo project to make sure it is working correctly. Previously, we used the Blynk app with Arduino to control a WS2812B RGB LED Matrix.
Components Required
- Raspberry Pi
- NodeMCU ESP8266
- LED
Install a local Blynk server on Raspberry Pi
The Blynk server is developed in Java so the first thing to do is to check that Java 8 is installed on your Raspberry Pi using the below command:
java -version
If it is not installed then run the following command to install Java 8.
sudo apt install openjdk-8-jdk openjdk-8-jre
Then download the Blynk server JAR file using the below command:
wget "https://github.com/blynkkk/blynk-server/releases/download/v0.41.12/server-0.41.12-java8.jar"
Once that is done, the server is ready to run out of the box, all we need to do is start the server using the below command:
java -jar server-0.41.13-java8.jar -dataFolder /home/pi/Blynk
As output you will see something like that:

Or you can start the server automatically at boot. For that use the below command to open up crontab:
crontab –e
And add the below command at the end of the file. Change the file path to match your installation directory.
@reboot java -jar /home/pi/server-0.23.0.jar -dataFolder /home/pi/Blynk &
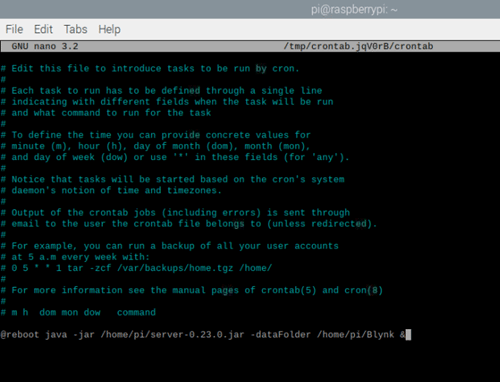
Save the changes by typing CTRL+X, then Y, then pressing the ENTER key.
Configuring the mail.properties file:
The Blynk server sends an email with the authentication token every time you create a new project. For that, we need to configure the mail settings by creating a new file named mail.properties and save it to the same folder as the server. That can be done by running the following command:
sudo nano mail.properties
Then add the below lines in the mail.properties file. Don’t forget to add your Email id and Password in the last two lines.
mail.smtp.auth=true
mail.smtp.starttls.enable=true
mail.smtp.host=smtp.gmail.com
mail.smtp.port=587
mail.smtp.username=Your EMAIL ID
mail.smtp.password=Password
Save the changes by typing CTRL+X, then Y, then pressing the ENTER key.
With this done the Blynk Server setup is over. Reboot the Pi using the below command:
sudo reboot
Configure the Blynk App
Now download the Blynk app from Play Store or App Store and click on create a new account option.
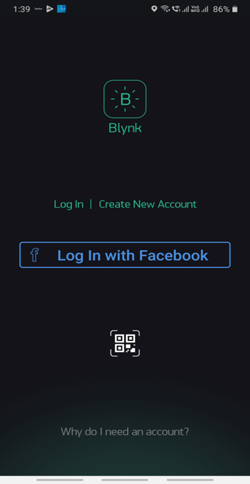
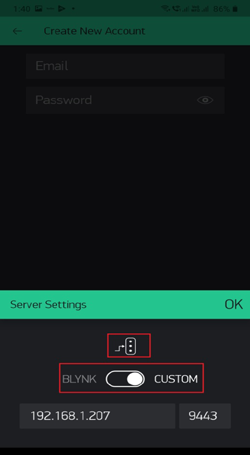
Then click on the icon at the bottom of the screen. Click the button to activate the Custom mode. Enter the IP address of the local Blynk server i.e. IP address of the Raspberry Pi and then click OK.
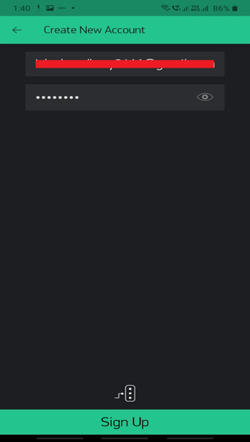
On the next screen, enter a valid email and password to create an account on your local server.
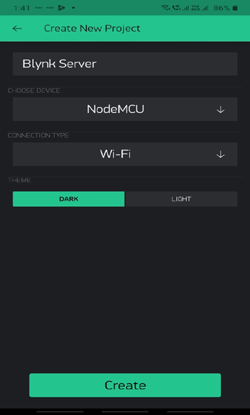
Once you have logged in, click Create New Project. Give the project a name. Then select NodeMCU as device and Wi-Fi in connection type.
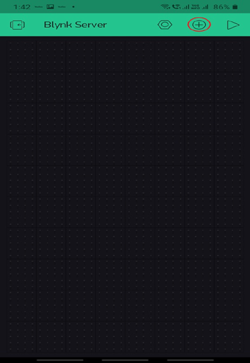
After these steps, click on the ‘Create’ button to form your project. As the blank project opens, add Widgets to it by clicking on the Plus sign button.
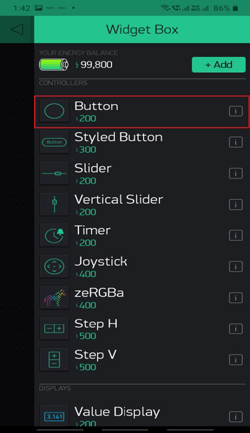
Now, after this click on ‘Button’ to add a button widget to your project.
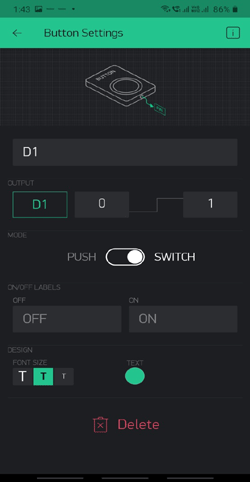
Now, tap on the button icon to change the settings. Provide a name to your button and select D1 as the output pin.
Controlling LED with Blynk Local Server and NodeMCU
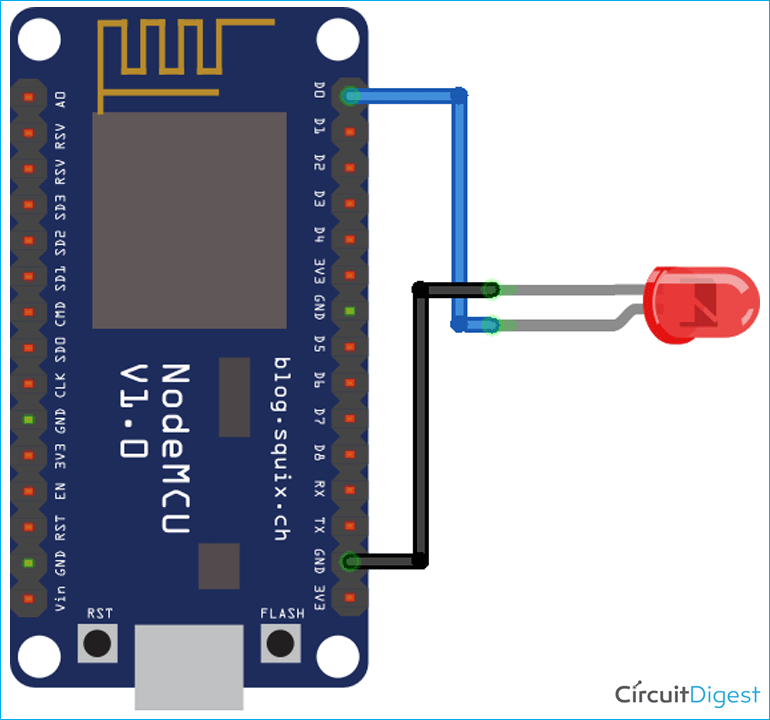
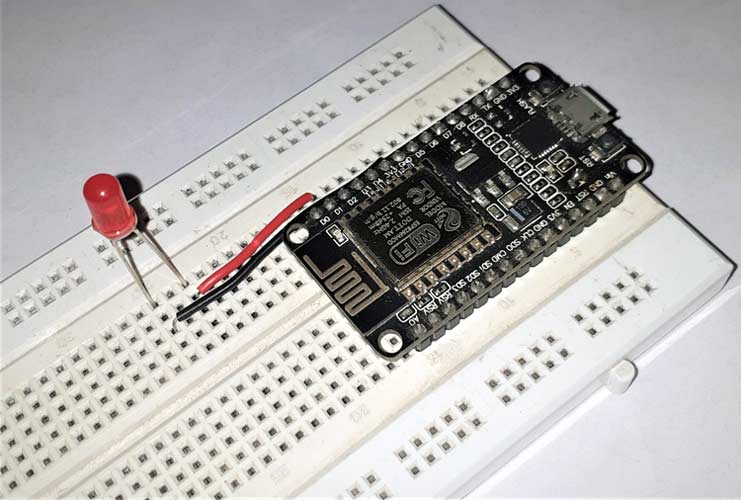
Now that everything is ready, we are going to control an LED using NodeMCU and Blynk Local Server that is running on Raspberry Pi. For that, connect an LED to the D1 pin of NodeMCU as shown in the circuit diagram.
Programming NodeMCU for Blynk Server
The complete code for Controlling LED using Blynk Server and NodeMCU is given at the end. Blynk library can be downloaded from the Library Manager in the Arduino IDE and install from there. For that, open the Arduino IDE and go to Sketch < Include Library < Manage Libraries. Now, search for Blynk and install the Blynk library.
Start the code by including all the required libraries for NodeMCU and Blynk in the code, as shown below:
#define BLYNK_PRINT Serial
#include <ESP8266WiFi.h>
#include <BlynkSimpleEsp8266.h>
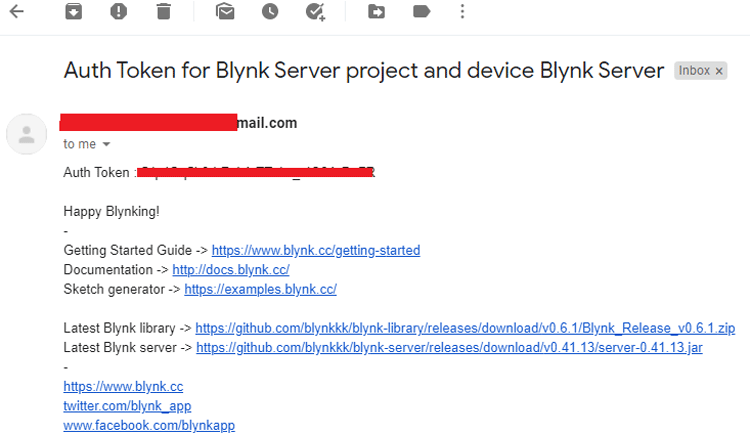
Then in the next line, enter the Auth Token that you have received from Blynk through the mail.
char auth[] = "Your Auth Token";
Inside the setup function, start the serial monitor at a baud rate of 9600, and then be sure to comment out the default server connection line as we need to add the local server IP address as shown in the below code.
void setup()
{
  Serial.begin(9600);
  //Blynk.begin(auth, ssid, pass);
  //Blynk.begin(auth, ssid, pass, "blynk-cloud.com", 80);
  Blynk.begin(auth, ssid, pass, IPAddress(192,168,1,207), 8080);
}
Test the Setup
Start the Blynk server on Raspberry Pi and upload the sketch to the NodeMCU. Wait until it connects to the Wi-Fi network. Then open the Blynk app and click the run button. Now, you will be able to control the LED state using the button.
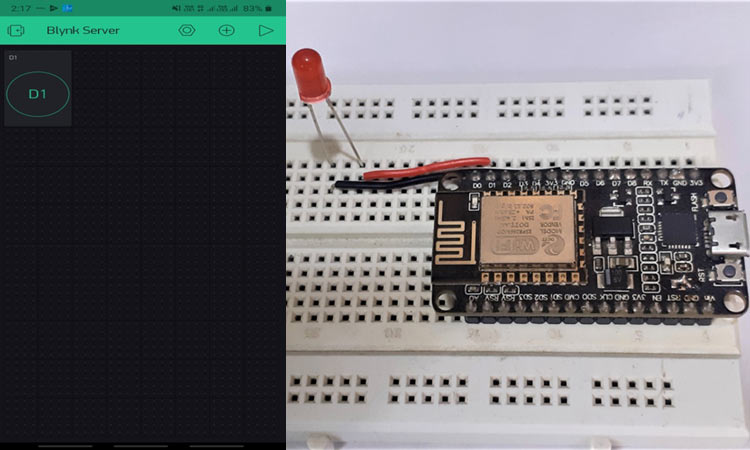
This is how you can install the Local Blynk Server on Raspberry Pi. Complete code and working video are given below.
Complete Project Code
#define BLYNK_PRINT Serial
#include <ESP8266WiFi.h>
#include <BlynkSimpleEsp8266.h>
// You should get Auth Token in the Blynk App.
// Go to the Project Settings (nut icon).
char auth[] = "5JpJGq5b8-hRskAtTTrJw_xIO3ArDu7R";
// Your WiFi credentials.
// Set password to "" for open networks.
char ssid[] = "CircuitLoop1";
char pass[] = "cdfi19230@165";
void setup()
{
  // Debug console
  Serial.begin(9600);
  //Blynk.begin(auth, ssid, pass);
  // You can also specify server:
  //Blynk.begin(auth, ssid, pass, "blynk-cloud.com", 80);
  Blynk.begin(auth, ssid, pass, IPAddress(192,168,1,207), 8080);
}
void loop()
{
  Blynk.run();
}

